Keeping your makeup brushes clean is essential for healthy skin. Dirty brushes can cause breakouts and irritate your skin.
A DIY makeup brush cleaner is easy to make and use. You can create a solution with simple ingredients you likely have at home. This not only saves you money but also ensures your brushes are clean without harsh chemicals.
Cleaning your brushes regularly helps maintain their quality and extends their life. In this blog post, you will learn how to make your own brush cleaner. You will also discover tips for keeping your brushes in top shape. Say goodbye to grime and hello to fresh, clean brushes!
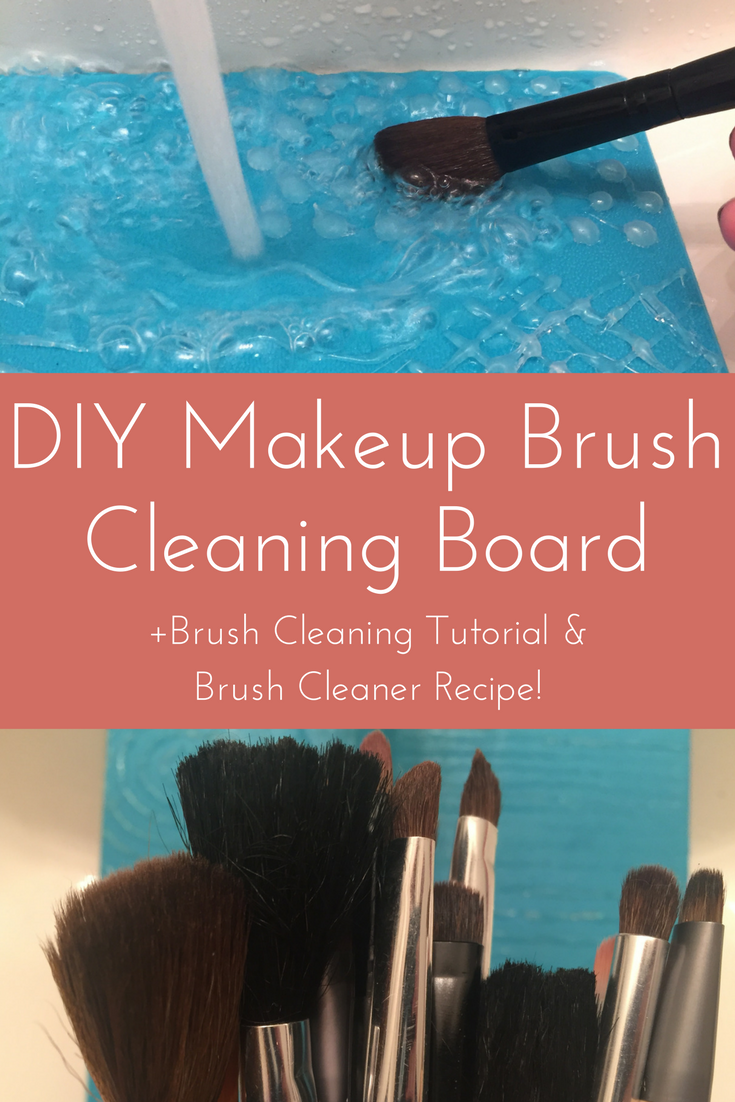
Credit: www.beaniesandweeniescrochet.com
Introduction To Diy Makeup Brush Cleaning
Cleaning makeup brushes is important for healthy skin. Dirty brushes can carry dirt and bacteria. This can lead to breakouts and skin problems. A DIY makeup brush cleaner is easy to make. It is also cost-effective. You control the ingredients. You can choose what works best for you.
Why Clean Brushes Matter
Clean brushes help your makeup look better. They apply products evenly. Dirty brushes mix old makeup and dirt. This can ruin your look. Regular cleaning keeps brushes soft and in good shape. It helps them last longer. Healthy brushes mean healthier skin. Less chance of irritation or infection.
The Pitfalls Of Store-bought Cleaners
Many store-bought cleaners contain harsh chemicals. These can irritate your skin. Some products are too expensive for regular use. Others may not clean effectively. They may leave residues on brushes. This can affect future makeup applications. DIY cleaners offer a safe and affordable alternative.
Everyday Ingredients For Brush Cleaning
Cleaning makeup brushes doesn’t need fancy products. Many everyday ingredients work well. You can use items from your kitchen or bathroom. They are simple, effective, and safe for your brushes. Let’s explore these common ingredients that help keep your brushes clean.
Household Oils And Soaps
Household oils are great for cleaning brushes. Olive oil is one of the best. It breaks down makeup easily. Mix it with a mild soap for better results. Dish soap or baby shampoo works well too. These soaps help remove dirt and oils from brushes.
To use, mix one part oil with two parts soap. Dip your brush into the mixture. Gently swirl it in your palm. Rinse with warm water. Repeat if necessary. This method leaves your brushes clean and soft.
Natural Antiseptics For Disinfection
Natural antiseptics help kill germs. Tea tree oil is a popular choice. It is effective against bacteria and fungi. You only need a few drops. Mix it with water or a gentle soap.
Another option is vinegar. White vinegar has natural disinfecting properties. Combine equal parts of vinegar and water. Soak your brushes in this solution. Rinse well after a few minutes. Your brushes will be clean and safe to use again.
Simple Steps To A Cleaner Brush
Cleaning makeup brushes is essential for healthy skin. Dirty brushes can cause breakouts and irritation. Follow these simple steps to keep your brushes fresh and clean.
Gathering Your Materials
Before you start, gather the right materials. Here’s a quick list:
- Warm water
- Gentle soap or baby shampoo
- Olive oil (optional)
- A small bowl
- Paper towels or a clean cloth
The Cleaning Process Explained
Follow these steps to clean your brushes:
- Mix the cleaning solution. Combine one part soap with two parts warm water in a bowl. Add a few drops of olive oil for extra cleaning power.
- Wet the brush. Dip the bristles in water. Avoid soaking the entire brush.
- Swirl in the solution. Dip the bristles into the soap mixture. Swirl gently to remove makeup.
- Rinse thoroughly. Rinse the bristles under warm water until clean. Ensure no soap remains.
- Shape and dry. Reshape the bristles and lay the brush flat on a paper towel. This helps maintain its shape.
Repeat this process for all your brushes. Clean brushes help improve makeup application and keep skin healthy.
Deep Cleaning Techniques
Deep cleaning your makeup brushes is essential. It removes dirt, oil, and bacteria. This helps your skin stay healthy. It also keeps your brushes in good shape. Below are some effective techniques for deep cleaning.
Removing Stubborn Residue
Stubborn residue can cling to brushes. Use a mixture of warm water and soap. Baby shampoo or dish soap works well. Soak the brushes for a few minutes. This loosens the residue. Gently swirl the brushes in the solution. Rinse under warm water until clear. Avoid soaking the brush head. This can damage the glue.
For extra tough spots, try olive oil. Mix it with soap. Dip the brush tips in the mixture. Swirl gently to lift the residue. Rinse thoroughly. This method helps remove heavy makeup like foundation.
Techniques For Dense Brushes
Dense brushes can be tricky to clean. They hold onto products tightly. Start by running warm water over the bristles. This helps to break down the product. Use a gentle soap on the bristles. Work it through the dense hairs. Use your fingers to massage the soap in.
Rinse until the water runs clear. Repeat if necessary. For very dense brushes, consider using a brush cleaning mat. It helps remove dirt effectively. Just swirl the brush on the mat while rinsing.
Quick-drying Methods For Brushes
Cleaning makeup brushes is essential for skin health. After washing, drying them quickly is important. Here are some methods to dry your brushes fast.
Effective Air-drying
Air-drying is a simple and effective method. Here are some steps to follow:
- After cleaning, gently squeeze out excess water.
- Lay a clean towel on a flat surface.
- Place the brushes flat on the towel, bristles hanging off the edge.
- This position allows air to circulate around the bristles.
- Leave them to dry for several hours or overnight.
Benefits of air-drying:
- Preserves brush shape.
- Prevents damage to bristles.
- Requires no special tools.
When To Use Heat
Using heat can speed up drying. But use caution to avoid damage. Here are some safe heat methods:
| Method | Instructions | Notes |
|---|---|---|
| Blow Dryer | Set to low heat. Keep distance. | Do not overheat bristles. |
| Fan | Place brushes near a fan. Set to low. | Good airflow speeds up drying. |
| Oven | Preheat to low. Turn off. Place brushes inside. | Keep door slightly open. |
Heat methods work well in a pinch. Always monitor the brushes. Protect them from damage.

Credit: www.pinterest.com
Maintaining Brush Longevity
Keeping your makeup brushes in good shape is crucial. Proper care extends their life. This helps you save money and ensures better makeup application. Regular cleaning and smart storage are key steps.
Routine Cleaning Schedules
Set a routine for cleaning your brushes. Here are some tips:
- Wash brushes weekly for daily use.
- Clean less-used brushes monthly.
- Use a gentle soap or a DIY cleaner.
- Rinse thoroughly to remove all soap.
Follow these steps for effective cleaning:
- Wet the bristles with lukewarm water.
- Apply the cleaner to the bristles.
- Swirl the brush in your palm.
- Rinse until water runs clear.
- Shape the bristles and lay flat to dry.
Storage Tips To Prevent Damage
How you store brushes matters. Proper storage prevents damage and keeps them clean. Follow these storage tips:
- Keep brushes upright in a holder.
- Avoid tossing them in a makeup bag.
- Store away from direct sunlight.
- Use brush rolls or pouches for travel.
Consider these materials for storage:
| Material | Benefits |
|---|---|
| Plastic Holder | Easy to clean and durable. |
| Fabric Roll | Portable and protects bristles. |
| Glass Jar | Stylish and keeps brushes visible. |
Remember, proper care leads to longer-lasting brushes. Your makeup routine will benefit greatly.
Troubleshooting Common Issues
Cleaning makeup brushes at home is easy. Yet, sometimes problems arise. Here are some common issues and how to fix them.
Dealing With Mold And Mildew
Mold and mildew can grow on wet brushes. This often happens when brushes are not dried properly. To prevent this, always dry brushes in a clean area.
If you find mold, act fast. Soak the brushes in a mixture of warm water and vinegar. Let them sit for about 15 minutes. Rinse well and dry them thoroughly.
Check your brushes often. This helps catch any mold early. Always store brushes in a dry place. Avoid damp areas like bathrooms.
Restoring Misshapen Bristles
Brushes can lose their shape after washing. This is common with soft bristle brushes. To fix this, reshape them while they are damp.
Gently pull the bristles into their original shape. Use your fingers to mold them. Leave them to dry flat on a clean towel.
For stubborn shapes, use a little conditioner. Apply it to the bristles and reshape. Rinse and dry as usual.
Eco-friendly And Cost-effective Solutions
Making your own makeup brush cleaner is easy and fun. It helps the planet and saves money. Many store-bought cleaners contain harsh chemicals. DIY cleaners use natural ingredients. This choice is better for your skin and the environment.
Using homemade cleaners can reduce waste. You can reuse bottles and jars. This also cuts down on plastic use. Eco-friendly solutions benefit everyone.
Benefits Of Diy Solutions
DIY makeup brush cleaners are simple to make. You control the ingredients. This means no harmful chemicals touch your skin. Natural ingredients are gentler and safer.
Another benefit is cost savings. Store-bought cleaners can be expensive. Making your own costs less. You can often use items already in your home.
DIY solutions also allow for customization. You can add essential oils for scent. Choose what works best for your brushes. It’s a fun and creative process.
Comparing Costs: Diy Vs Store-bought
Store-bought makeup brush cleaners can range from $10 to $30. Many people find this cost high. In contrast, making your own can cost only a few dollars.
For example, a simple recipe includes vinegar and water. These ingredients are cheap and easy to find. A bottle of vinegar usually costs under $5.
With DIY, you save money over time. You can make several batches with one purchase. This makes it a smart choice for your wallet.
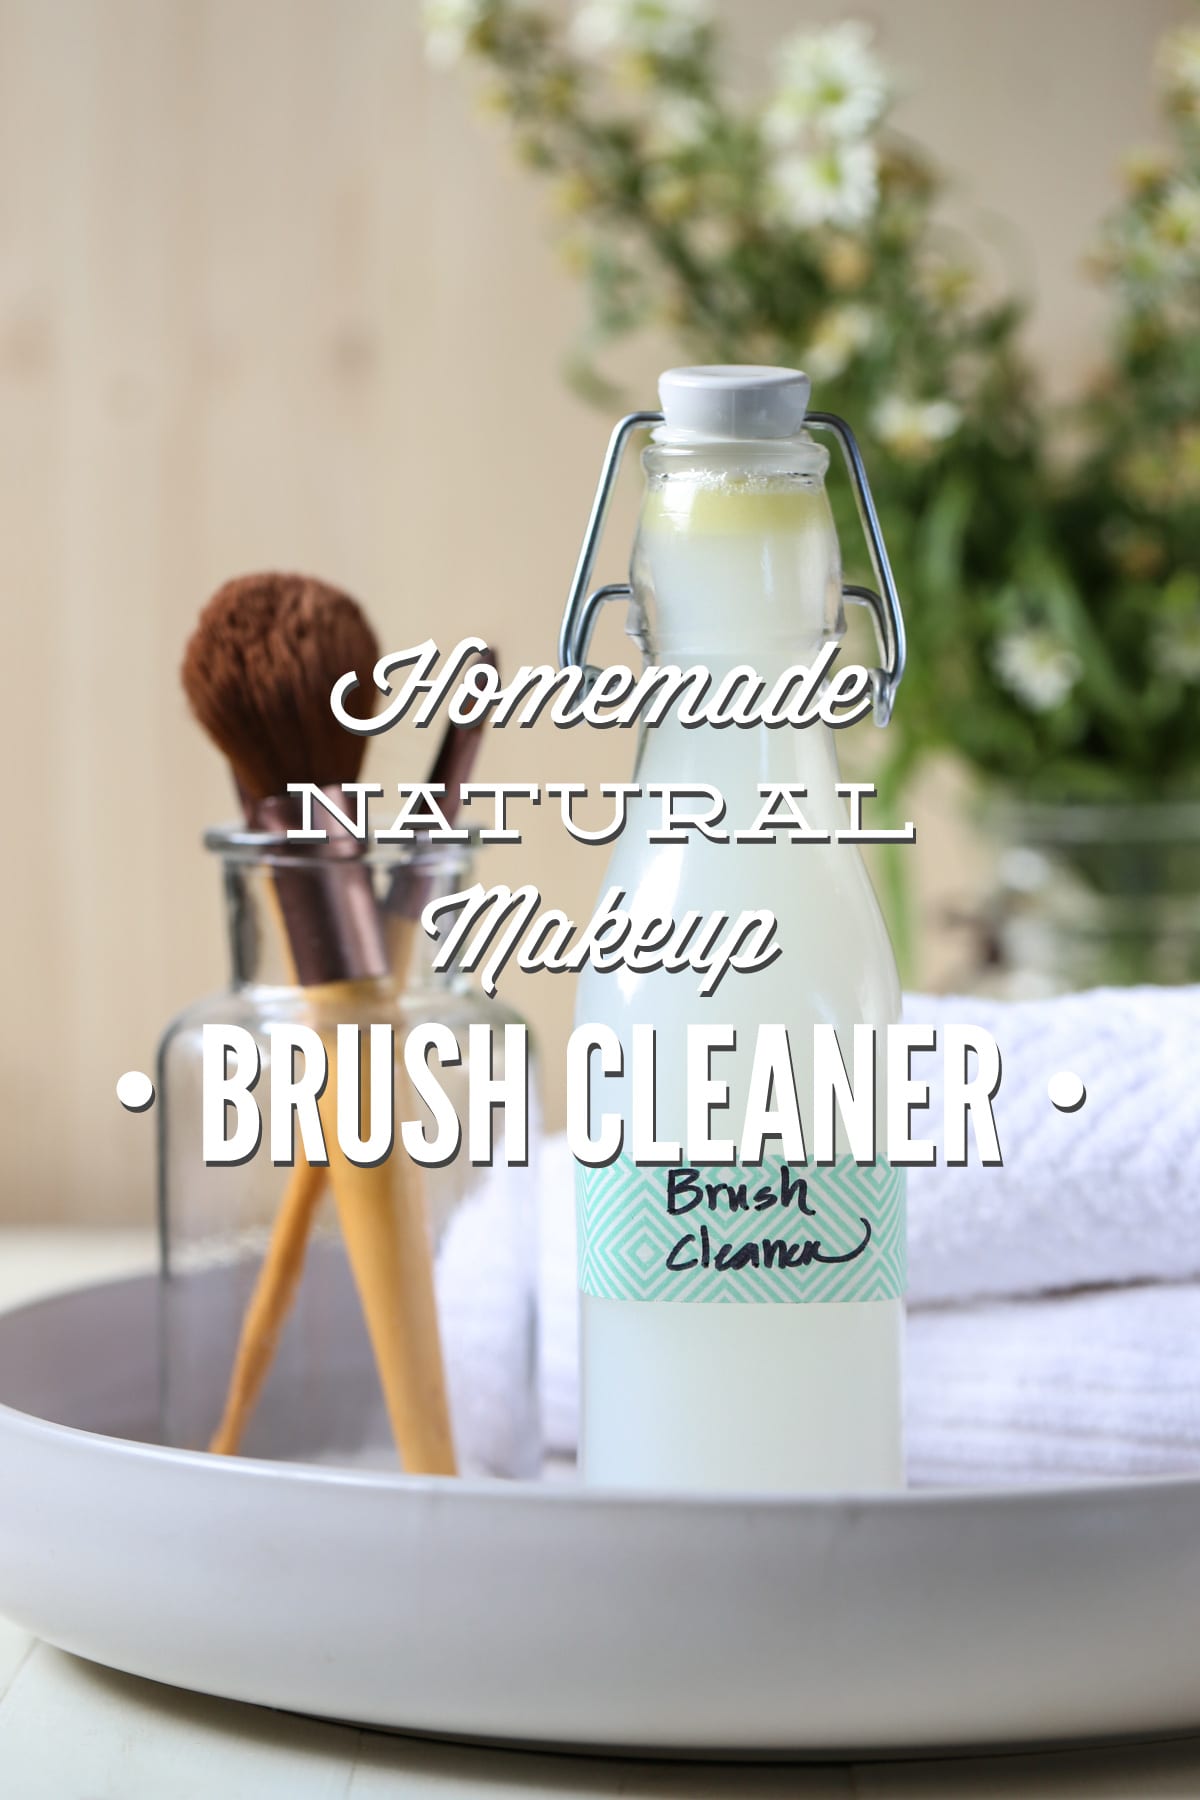
Credit: livesimply.me
Frequently Asked Questions
How Often Should I Clean My Makeup Brushes?
It’s recommended to clean your makeup brushes at least once a week. Regular cleaning prevents the buildup of bacteria and product residue. This will help maintain the quality of your brushes and ensure a flawless makeup application. For brushes used on sensitive skin, consider cleaning them more frequently.
What Ingredients Are Best For Diy Brush Cleaner?
Effective DIY brush cleaners often use natural ingredients like olive oil and dish soap. These ingredients break down makeup residue while disinfecting the bristles. You can also use isopropyl alcohol for a quick drying option. Always ensure your mixture is gentle to avoid damaging the brush fibers.
Can I Use Baby Shampoo To Clean Brushes?
Yes, baby shampoo is a gentle option for cleaning makeup brushes. It effectively removes makeup without harsh chemicals. Simply mix it with water, dip your brushes, and gently swirl them. Rinse thoroughly to ensure no shampoo residue remains, preserving the longevity of your brushes.
How Do I Make A Diy Brush Cleaner?
To make a DIY brush cleaner, mix equal parts olive oil and dish soap in a bowl. Dip the brush bristles into the mixture and swirl gently. Rinse under warm water until clean and reshape the bristles. Let them air dry on a clean towel for best results.
Conclusion
Cleaning your makeup brushes at home is simple and effective. Using natural ingredients saves money and protects your skin. Regular cleaning keeps brushes in good shape and helps your makeup look better. Try this DIY method to enjoy clean brushes without harsh chemicals.
Share your experience and tips with friends. A clean brush can make a big difference. Start today for healthier skin and a fresher look. Your beauty routine deserves this easy upgrade. Happy cleaning!